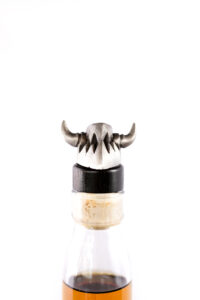
When it comes to making a Private label Bottle plug, there are two important things to consider: the size of the hole and how well it fits into the bottle.
The two depend on each other, so if you want to make a tight-fitting plug that’s not going to leak all over your container, then you’re going to want a smaller hole. If you want your container to be compatible with more plugs in general, then go for a bigger hole.
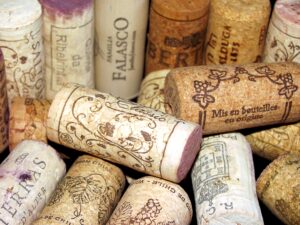
Introduction to Private label Bottle plug
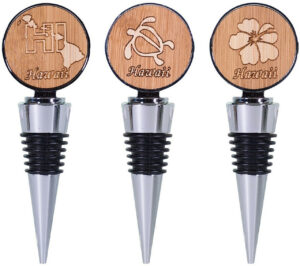
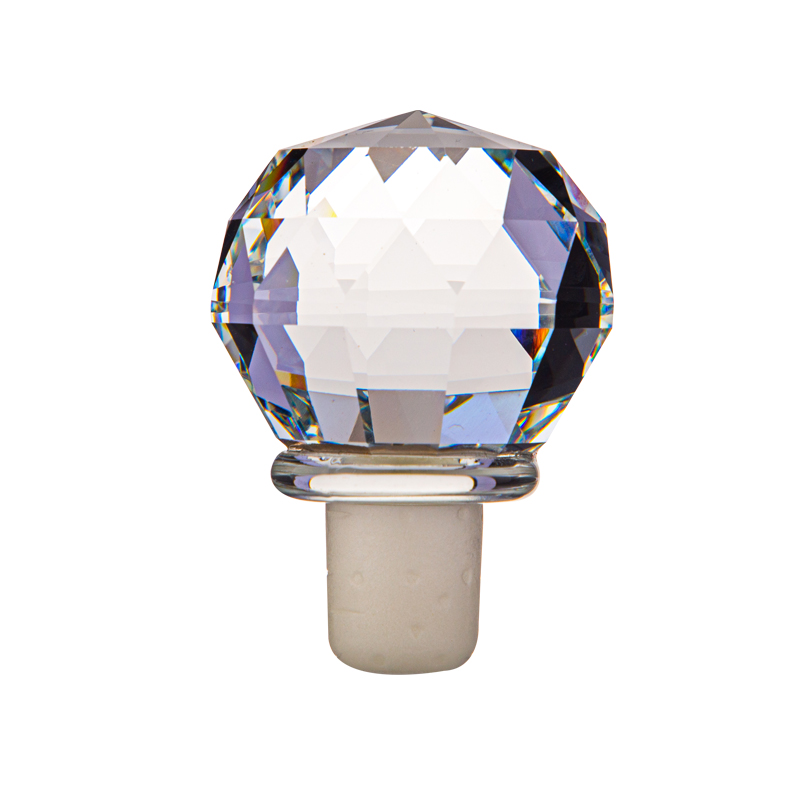
Private label Bottle plug are a great way to add decoration to any bottle. They are easy to make and can be made from a variety of materials.
To get started, you will need a few supplies. First, you will need a cork that fits snugly into the neck of the bottle. You can find these at most craft stores. Next, you will need some wire.
The type of wire you use is up to you, but we recommend using thin gauge wire so it is easy to work with. Finally, you will need some beads or other decorations. Again, the type of beads you use is up to you. We recommend using small beads so they fit easily on the wire.
Now that you have your supplies, it’s time to start making your Private label Bottle plug. Start by threading the wire through the cork.
Then, add your beads or other decorations. Once you have added all of your desired decorations, simply bend the wire so it wraps around the neck of the bottle and secure it in place. That’s it! You’ve now made your very own Private label Bottle plug!
Understanding the Molding Process and Design Considerations
In order to create a Private label Bottle plug, you need to first understand the molding process. Private label Bottle plug are typically made through injection molding, meaning that melted plastic is injected into a mold to create the desired shape. The mold must be designed specifically for the bottle plug you want to create.
There are several design considerations you need to take into account when creating a mold for a Private label Bottle plug. The size and shape of the bottle opening, the thickness of the wall, and the overall shape of the plug are all important factors. You also need to decide what material you want to use for your plug.
Once you have a clear understanding of the molding process and design considerations, you can start creating your own Private label Bottle plug. With a little practice, you’ll be able to create perfect plugs for any type of bottle.
Tools You’ll Need for the Molding Process
In order to make Private label Bottle plug, you will need a few tools. First, you’ll need a mold. You can purchase a mold specifically for making bottle plugs, or you can use a food-safe silicone mold. You’ll also need a measuring cup, a mixing bowl, and something to stir the ingredients with.
Next, you’ll need to gather your ingredients. You’ll need 1 cup of water and 1 cup of white vinegar. You’ll also need 2 tablespoons of baking soda and 2 tablespoons of cornstarch. Finally, you’ll need 1/2 cup of flour.
Once you have all of your ingredients and tools gathered, you’re ready to begin the molding process. Begin by mixing the water and vinegar together in the bowl. Then, add the baking soda and cornstarch and stir until those are fully combined as well. Finally, add the flour and mix everything together until it forms a smooth paste.
Now it’s time to fill your mold with the mixture. Fill each cavity of the mold about halfway full. Once all of the cavities are filled, tap the mold on the counter a few times to release any air bubbles that may be present in the mixture.
Materials You’ll Need to Get Started
In order to get started making Private label Bottle plug, you’ll need a few materials. First, you’ll need some cork. You can find cork at most craft stores. You’ll also need a sharp knife and a cutting board. You’ll use the knife to cut the cork into pieces that will fit snugly into the neck of your bottles.
Next, you’ll need some wire. You can use any type of wire that you have on hand. However, it’s best to use something that is fairly thin so that it will be easy to work with. Once you have your materials gathered, you’re ready to start making bottle plugs!
The 10 Tips to Getting Your First Bottle Plug Made
- Find a High-Quality Silicone Mold
The first step to getting your bottle plug made is to find a high-quality silicone mold. There are many different places where you can find these molds, but the best place to start is online.
There are many different websites that sell silicone molds, so take some time to browse through a few of them before you make your final decision.
- Choose the Right Size and Shape
Once you have found a few different silicone molds that you like, the next step is to choose the right size and shape for your needs.
It is important to choose a mold that is the right size for the bottle that you want to use it with. You also want to make sure that the mold is the right shape for the design that you have in mind.
- Pick Your Favorite Color
Now that you have chosen the right size and shape for your mold, it is time to pick your favorite color. There are many different colors of silicone molds available, so take some time to browse through all of the options. - Decide on a Design
Now that you have chosen the color of your mold,
Conclusion
Making your own Private label Bottle plug is a fun and easy way to add a personal touch to your wine collection. With just a few simple supplies and some basic tips, you can create beautiful plugs that will keep your wine bottles fresh and protected. Give it a try today and see for yourself how easy and rewarding it can be!